
Day 1 of 30 day Coloring Challenge


Since 2019, I have been participating in this coloring challenge organised by Kathy Racoosin. To me, this challenge is not just about colouring, but also getting inspired by many talented people and finding the ‘me’ time in my daily busy schedule. Thank you to Kathy for organising this! 

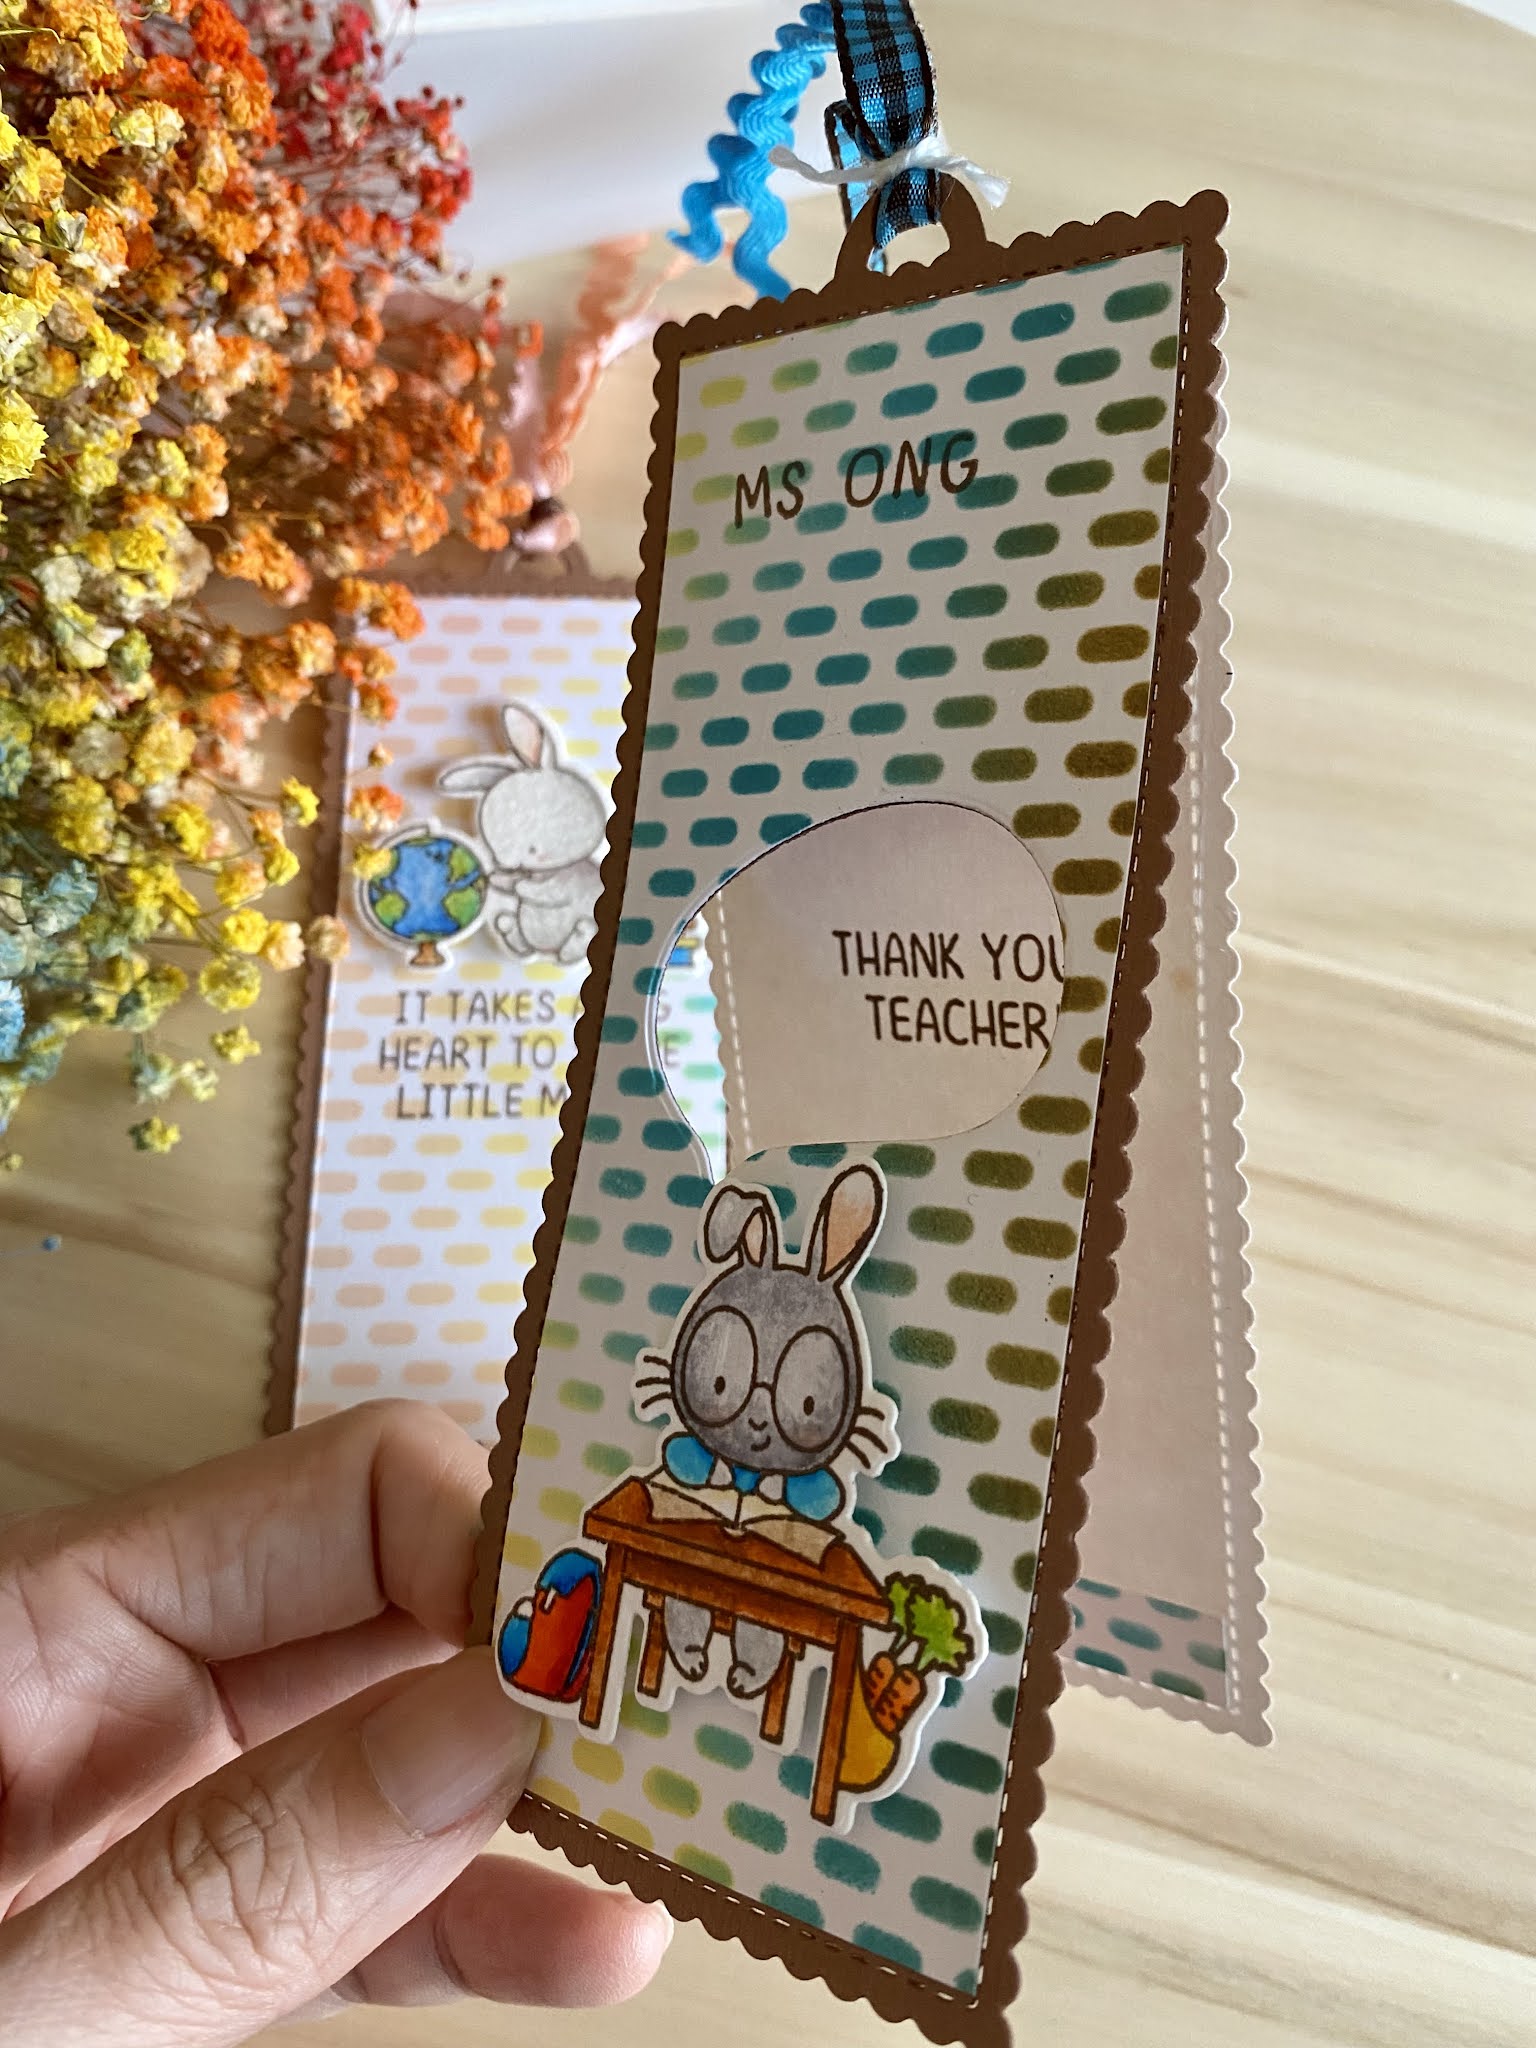
Day 1, I’m sharing two bookmarks that I created using mainly Mama Elephant products. 

The background is created by using the stencil from Mft and distress oxide. Here are two close-up photos. 


Comments

Popular posts from this blog

Slimline Scene Builder Card: You Leveled Up! (It's Your B-Day)

Hello! I am really  really excited to share my slimline scene builder card on my blog.  For this card,  I was inspired by Mama Elephant Scenescape Builder creative cuts that I was so tempted to buy it but did not. Hence, without the specialty dies, I came out with my own measurements for the various parts to form this 3D display card.  With my paper trimmer, I cut out the base for the background 6.25 by 3.5 inches, the foreground piece 7.25 by 1 inches and the two pieces by the side 2.25 by 2 inches.  Next, I inked the background with distress ink (aged mahogany & walnut stain) and oxide (abandoned coral) and MFT Small Brick Wall stencil. As for the foreground and side, I simply used distress ink (black soot) and distress oxide (walnut stain).    I also prepared two strips of paper for the middle ground. Here's a quick look at the pieces with measurements. I further trimmed some of the pieces to ensure they fit.    Once all the pieces for the slimline card are ready, I coloured

3D Display Card 1

Hey all, it has been a while since I last updated my blog. Busy and having fun creating all these 3D display cards. Once again, I would like to thank Jennifer McGuire for the inspiration. I have many people asking about the dimensions of the card so I’m going to share it today.  I created my own template using the rainbow arch from Mama Elephant slim scene scape rainbow add on. Check out the dimensions below.  Next, I die cut the slopes using Lawn Fawn stitched hillside borders and created a path.  For the background, I stamped, embossed and inked it.   Lastly, I stamped the adorable Christmas-themed critters, coloured and assembled them.   Thanks for dropping by and hope you like it. 😊  

From the Whole Herd Birthday card

 Today, I’m sharing a very simple birthday card.  I’m planning to participate in the MFT Wednesday Sketch challenge.  For this card, I started with the stamping of the sentiments first. With that as a reference, I picked 3 sentiments and stamped them on the 3 strips of paper.  Then, with Prima marketing inc. stencil, I inked the background of the card with distress oxide (rusty hinge and vintage photo).  I chose the stamp set, ‘The Whole Herd’ from MFT for this card. This is a stamp set that I’ve bought many years back and still in good condition. I stamped it on a beige paper and decided to use colour pencils. For colouring with colouring pencils, I usually start with the light colours as a base colour and I will gradually build up the colours, layering and blending the colours.   Once done, I fussy cut the stamped animals as I did not buy the die cut previously.  Next, with foam dots, I arranged the animals and paste them the bigger strip of beige paper.   Finally, I assembled everyt